Tuesday, December 4, 2012

Adaptive Art Snowmen

I teach a class of all special needs students ranging in all abilities.  Here is one of our latest projects.  To create this I cut out snowman stencils students glued cotton balls onto the stencil.  We then added googly eyes, a pipe cleaner for the nose, fuzzy balls for buttons, a piece of fabric for a scarf, and I had pre cut hats for them to glue on as well.  To create our backgrounds I created a foam stencil of a snowflake (using a die cut) students used silver paint and printed the snowflake on the blue background to create our snow scene.

They turned out great! Here are a few:


Monday, December 3, 2012

6th Grade Clay Sea Creatures

In this project students explored many important elements in the ceramic making process.

Vocabulary we focused on:
Slab- Handbuilding technique used when clay is rolled out and flattened.

Pinch Pot- Pinch in ceramics is a method of shaping clay be inserting the thumb of one hand into the clay and lightly pinching with the thumb and fingers while slowly rotating the ball in the palm of the other hand.

Slip & Score- refers to a method of joining two clay pieces together (like velcro).  First score the clay; this mean that you make lines and scratches in the surfaces that will be sticking together.  Then you slip it; you wet the surface with slip, using it like glue to stick pieces together.

PlasticThe quality of clay which permits it to be readily shaped into different forms without cracking, crumbling, or sagging. (Wet, Workable Clay)

To start this project students were given a 6"x6" piece of paper to use as a template.  Students were instructed to design a sea creature (fish, octopus, shark, sea horse etc.)  Their creature had to fill the 6 inch square they were given.  Students then cut out their sea creature to use as a template.  Students rolled out two slabs of clay and traced their templates on both slabs. After both slabs were cut out students slipped and scored the edges. To give the sea creature more form  students took a small piece of newspaper and put it between the two slabs.  Students then placed the slabs together (with newspaper in between) and smoothed the clay to be one piece.  The next step was to make a pinch pot. Students put their pinch pot upside down, slipped and scored it to their sea creature to act as a stand.

To add color we marbleized our sea creatures using liquid starch and acrylic paint.

Teacher Example: 


Students sea creatures are waiting to be marbleized. 


Thursday, November 29, 2012

4th Grade Fantasy Forest-Creating Space

For this lesson students focused on the art element of space.

We explored this by creating fantasy trees.
I first showed students my example of the project they will be doing, and simply asked the question, "What do you see?"


After a few minutes of discussing we came up with two things:
1. The trees are changing size going from large to small.
2. The trees are overlapping, you never see a full tree.

Two ways to create space are through size and overlapping, which we used to do this project.
We started by drawing a diagonal line across the page.  This line acted as a guide to keep our trees in a row.  I then handed out a sheet that had creative ways to draw trees on them given to me by a fellow art teacher.  Students were asked to design a tree with an interesting shape and pattern.  We talked a little bit about reality vs fantasy and how we identify our trees as trees, but they are not realistic.  Students were instructed to draw that tree on that line starting large and drawing them small until they ran out of space.  We then made that line into a road and students could add a mountain, hill, moon, or sun in the background.

To add color we used water color.  We discussed warm and cool colors and how those colors can help us identify a season, a particular temperature, or time of day.  Students were instructed to either use warm colors on the sky and cool colors on the ground and vice versa.

To add a little more interest to our trees we discussed analogous colors: colors right next to each other on the color wheel.  Using the color wheel as a tool students painted their trees using analogous colors.

This lesson enabled students to really practice proper watercolor techniques.


Wednesday, November 28, 2012

2nd Grade Complementary Color Giraffes

2nd Grade students are learning about the color wheel, and our particular focus is on complementary colors.


Complementary Colors:  Colors that are across from each other on the color wheel and when placed next to each other they make the colors appear brighter.

I started the lesson by asking students what is a compliment?  
Most students answered, "when someone says something nice to you."

We can think of complementary colors in the same way.  They compliment each other, together they look nice.

Our focus was on these complementary colors:

Blue and Orange:
Violet and Yellow:

Red and Green:


After we learned a little about color theory we moved onto the next step of our project.  Students followed my directed drawing  step by step to draw a giraffe.


To color our giraffes students were allowed to pick one set of complementary colors.  One color would be used to paint the body the other to paint the spots.  As a final touch we added giraffe hair with construction paper that was the same color as the spots.

Teacher Examples:


Student Giraffes:
Being in the Holiday season many students chose red and green to make a "Christmas Giraffe."


These Giraffes look so fun hanging in the hallway together.


Friday, November 16, 2012

Kindergarten Claude Monet Bridge and Lily Pond

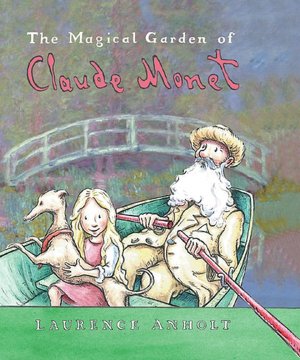
To starts this lesson we read "The Magical Garden of Claude Monet"


Overview

Julie is a happy little girl who lives in Paris, but she wishes she could walk in a country garden. Julie is pleased when her mother decides to take her to visit the most wonderful garden in the world, owned by a great friend of the family. They arrive at their destination, and for this little girl it is like walking in a dreamy world where twisting plants grow as tall as trees. When Julie's dog runs away, she asks the gardener to help find her pet, and soon she and the gardener are friends. But this amiable, bearded old man is a very unusual gardener, for not only does he cultivate his many plants, he also paints beautiful pictures of them. Julie has made a friend of the great impressionist painter, Claude Monet. Based on a true story about the daughter of another fine artist, Berthe Morisot, this charmingly illustrated picture book includes reproductions by author-illustrator Laurance Anholt of a famous waterlilies painting, which Monet completed in his garden at Giverny, a few miles from Paris.

As Claude Monet is recognized for his many paintings of lily pads check out this painting recently auctioned for 43 million dollars! We were inspired by this painting by Claude Monet in creating our work:

"The Japanese Footbridge"

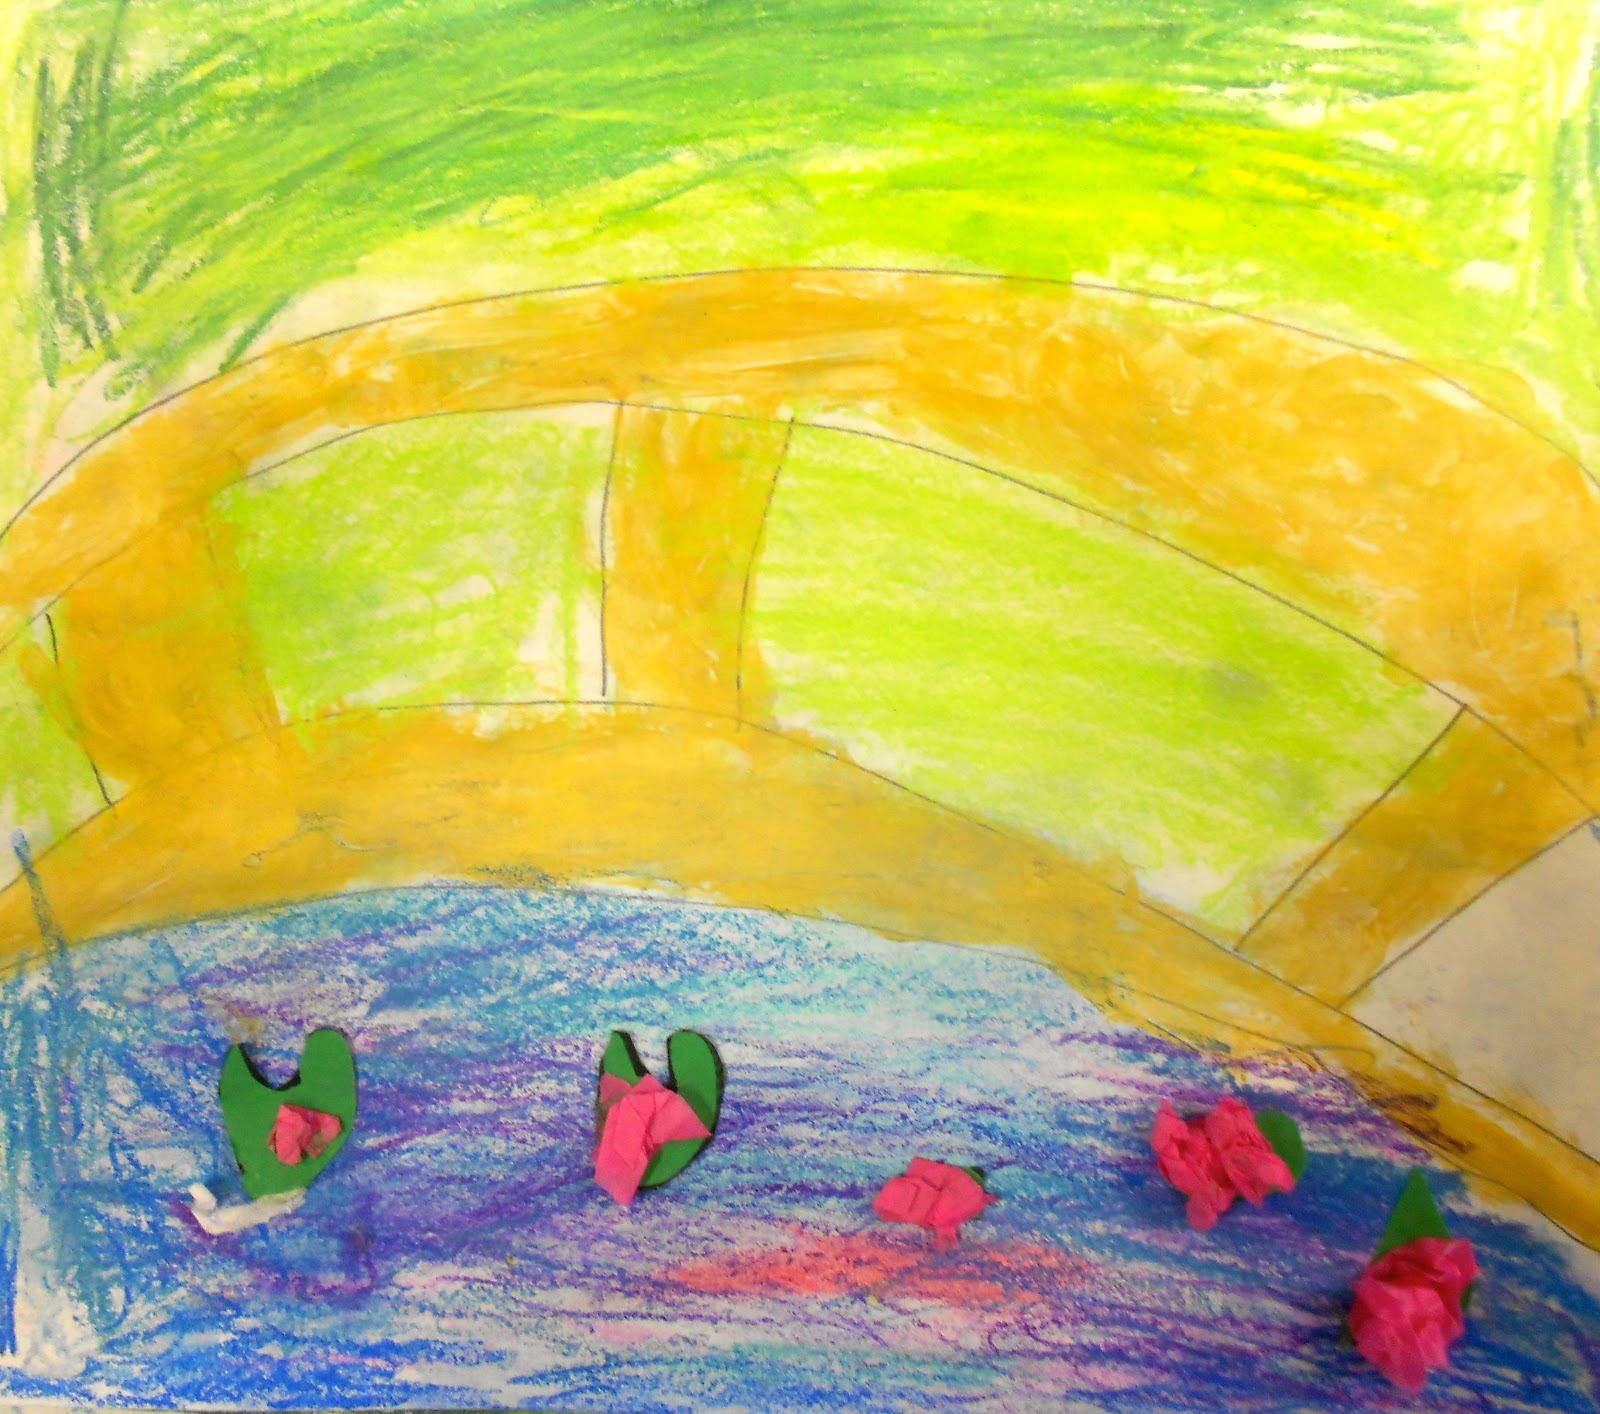
We first did a step by step directed drawing of the bridge.  Students were then given gold paint to paint their bridge. Next using blue, purple, and pink chalks we practiced blending and created our water under the bridge.  Above the bridge we used greens and yellows to create our trees and shrubbery.  To add a final touch we made lily pads by using construction paper and tissue paper.

Teacher Example: 


Student Examples:


Thursday, November 15, 2012

1st Grade Pinch Pot Pumpkins

Welcome To Our Pumpkin Patch!

First graders made pinch pot pumpkins using model magic.  Students first made an upside down pinch pot for the bottom and added another piece of model magic for the stem.  We then painted the bottoms orange and the stems green.