Friday, November 6, 2015

My World in a Bulb

This is one of those lessons that I just didn't get around to posting.  These may or may not have been completed by my 5th graders in May---BUT they're too good not to share.

In this lesson we looked at the art style of surrealism.  Of course we looked at the work of Magritte and Dali.  If your school has a BrainPop subscription, they have an awesome presentation for both elementary and middle school students. 

This lesson was quite simple, yet it really got the students to think.  I ran across this image online that inspired these surrealist bulbs!


  I also gave the students a couple handouts to get their ideas a-brewing.  The target here was to create a surrealist type world, event, or scenario inside their lightbulb.

This lesson cut it pretty close to the end of the school year so most students chose to fill in their background with a little watercolor and salt technique--definitely can't go wrong there!  


Monday, October 26, 2015

The Pencil Sharpener that EVERYBODY Loves

I've posted about this pencil sharpener from Classroom Friendly Supplies before and it just continues to get better and better.  And now for all you purple pencil lovers, they have released a new color--just for you!  


If you don't have this pencil sharpener you NEED to get one--I REPEAT--NEED.  I've had one in my classroom for over a year, it's durable, creates a perfect sharp pencil every time, and you will probably have students begging to sharpen all your pencils for you .  I'm not kidding about this (my middle schoolers even do this).  I once had a first grader on a behavior plan, when he met his goal for the day, one of his rewards was to come in and sharpen all the pencils using the Classroom Friendly Supplies sharpener.  This product works wonders and it beats a noisy, electronic pencil sharpener that always breaks down any day!   

Go to their website and order one, I promise you'll be asking for more!


Saturday, October 17, 2015

Tie Dye Until I Die: Classroom Edition

By now if you're a regular visitor, it's no surprise that I'm a lover of tie dye.  My classroom decor reflects this passion, my tie dye inspired clothing serves as my walking advertisement, and my students CONSTANTLY beg to do it with me.  Until recently, I never pulled the trigger on it.  I used to be a Summer Camp Counselor at an all girls overnight camp (shout out to you RPC 4 G's) and I once tie dyed with over a dozen 9 year olds because they paid me in pine cones--I wish I was kidding.  Never have I ever had so many tie dye nightmares.  But fear not it's been about 6 years in the making and I've finally mastered the art of tie dying with my students.  In fact, I'm going to share with you how successful tie dying with 60 4th and 5th graders was for me.


Step 1: T-Shirts.
I thought this was going to be the most difficult part--having everyone bring in a t-shirt.  To my surprise this was not difficult at all.  The best thing about tie dye is that you don't need a new white t-shirt to do the trick, it can even be an old sports camp shirt with screen printing,  just make sure it's 100% cotton.  You'll always have those parents that send in packs of shirts for those students that forget.


Step 2: How to Tie the Shirts
Keep it simple.  For most of your kids they've probably never "properly" tie dyed before.  When I say properly they probably just took a whole bunch of rubber bands and tied it up randomly.  To guarantee a successful product I show students two very simple patterns to create:  Your traditional swirl and an accordion style fold.

Step 3: How the heck am I supposed to do this in my classroom?
Fear not.  It's possible, fun, and easy.  Break it down into steps.  I had students tie their shirts a day or two before we actually dyed them.  This is how we did it.  After showing them how to tie the shirt they brought their t-shirt (with name written with sharpie on the collar) and dunked it in the sink full of water (shirts are easier to tie if they are wet), we squeezed it out, and students practiced and secured their design with rubber bands.  To keep the shirt wet, I immediately had students put the shirt in a ziplock bag with their name on the outside.  


Step 4: The Dye
This step is so easy--BUT you must have students thinking about color theory so they don't get a muddy mess.  For first timers, I suggest limiting students to choose only 2-3 colors.  2 might even work the best so they can just coat the shirt 1/2 and 1/2.  After I showed them how to apply die, we went outside with dye, soda ash, and old file folder racks.  I have students remove their shoes (just in case), and we go.  Normally, you'd want to soak the shirt for 15 minutes in soda ash to fix the colors, but for this go around we just dunked them right before we dyed them.  Students place the shirt on the file folder rack to let the dye drip through and your in business!  After both sides are done and the excess dye has dripped off, put it back in your ziplock bag and let it sit.  This  is the most important part--if you don't let the dye set for at least 24 hrs the colors won't be very vibrant.  I didn't trust the kids to wash them at home so I just did that part, before I put them in the wash machine I hose them off to get any extra dye out. 


Step 5: Wearing Them
Beware: kids will wear their shirts for the next 5 days straight--I PROMISE.  But before they took them home I obviously made all 60 students wear them and parade around school in a line with my Tie Dye posse.  Needless to say everyone who wasn't us was jealous.  


Thursday, August 27, 2015

I'm Still Here, BUT Things are a-changin'

I've been MIA, and that's because I've had a gazillion and ten things going on.  It's common knowledge in teacher world that summer is for relaxing and getting caught up on all those other things that get thrown into the corner, right??! WRONG.  Guys, most days I'm lucky if I leave the house with pants on.  This week I may or may not have worn two different shoes to school (in my defense they were the same, but different colors--I just told everyone it was a new trend, duh.)

Which brings me to school.  This year I am so excited to be taking on a new job description.  That's right folks, I've moved on from the elementary world to the land of the tweens, or more commonly known as middle school. I'm 3 weeks in and I'm still here--I shook my magic eight ball and it responded with "Reply Hazy, Try Again Later,"  I'm not sure whether I should be concerned or not yet.  So with this change my blog name obviously can no longer be: Exploring Art: Elementary Art.  

I now welcome you to the middle school edition of me: Art. Eat. Tie Dye. Repeat.
Now all you elementary folk, please don't scurry away! It'll still be the same ole me here coming at you with my bizarre ideas and thoughts.  I've still got PLENTY of projects I need to catch up on from last school year (grad school is killing me).

My school year is off to an extremely busy start (as I'm sure yours is as well).  Not only do I have a new job, but 9 hours of grad school (I'll be done in May!!!), and coaching volleyball sure have me busy.  No time for sleep, because there is not rest for the rad!

THE GOOD NEWS: I FIT RIGHT IN WITH THOSE MIDDLE SCHOOLERS. YOU CAN'T EVEN TELL US A PART!
post signature

Thursday, July 9, 2015

Art in Motion: Digital Flipbooks

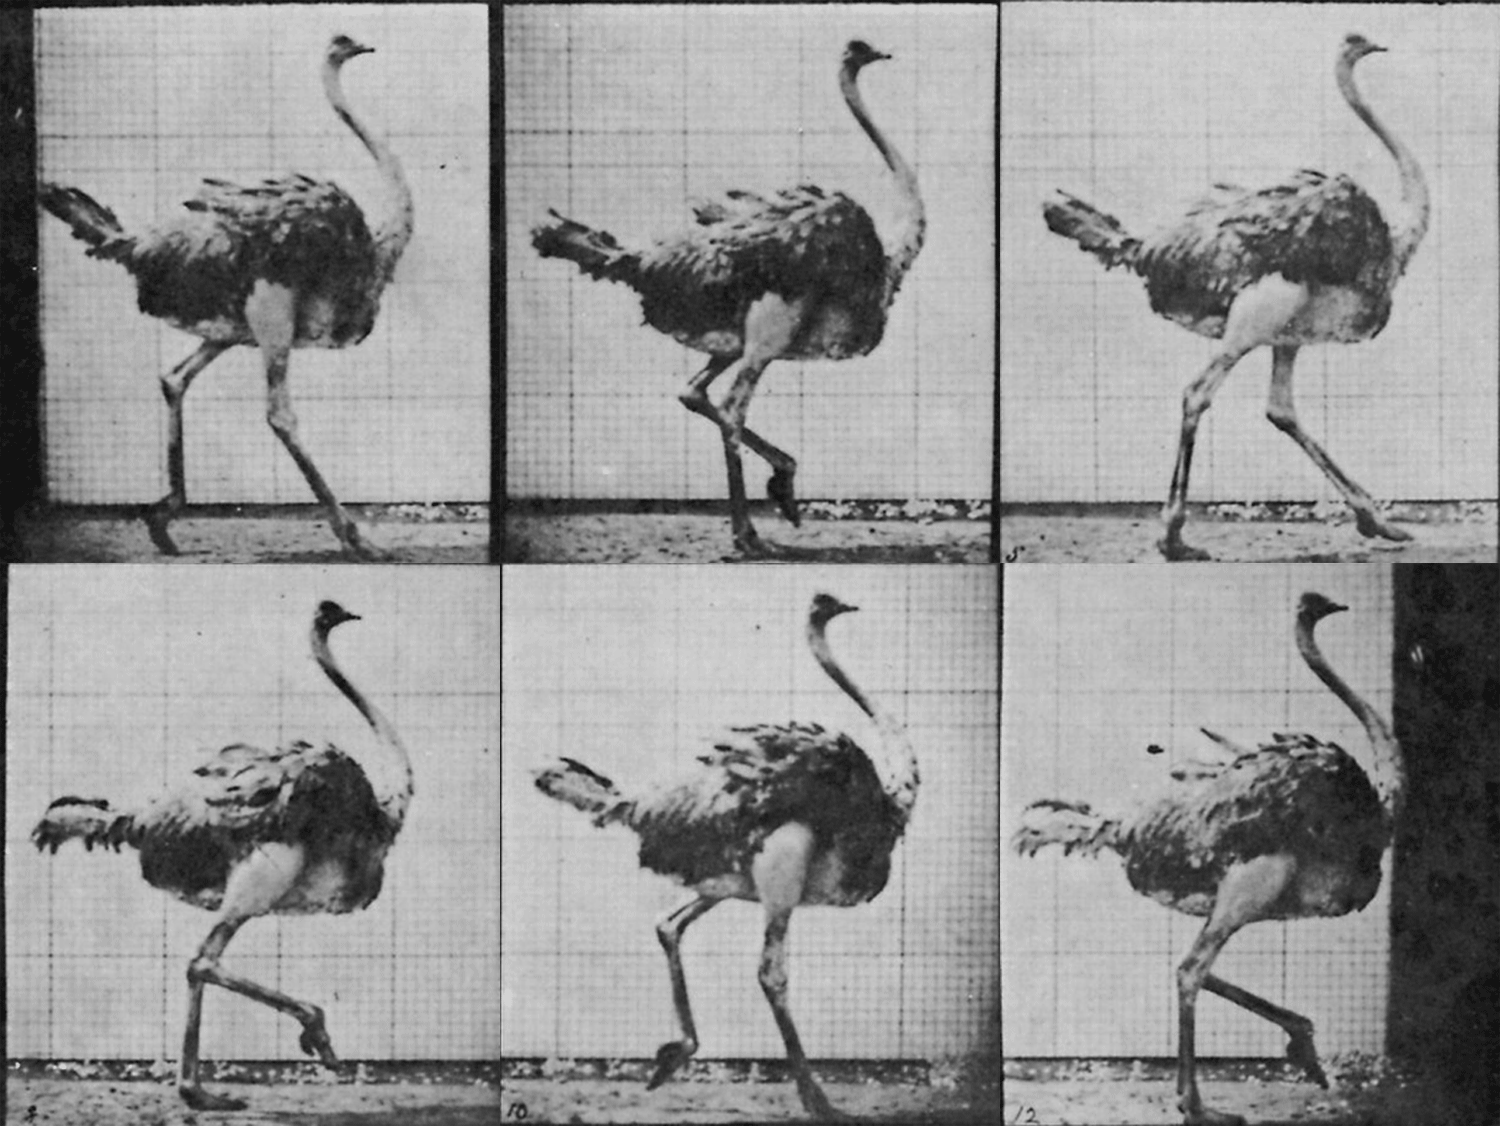
This year my summer school class (comprised of 5th and 6th graders) tackled the theme of Art in Motion.  Who better to learn about this concept other than Eadward Muybridge??!  Now, I will admit I did have dreams of galloping horses and walking ostriches, but that's besides the point.  This video did a really great job of introducing the artist to the students.  I know there are a few portions in the video with the naked photography, so I just youtube Chopped them out and played the video in segments.  

 photo anigif_enhanced-buzz-25928-1350398814-14_zps9x85q819.gif

We discussed the groundbreaking stuff that Muybridge was able to capture through still photography and pretty much invented what we know as the modern day gif (and that ladies and gentlemen is where they were hooked).  Unfortunately, we ran out of time before we could dive into the creation of our own gifs; instead, we explored the world of the digital flipbook.  To create the drawings students used the website BennetonPlay!  This is a free website, no log ins required.  With the limited edition students are able to create a 100 frame digital flipbook.  I LOVED these, my students LOVED them--the world was happy.  We only had about thirty minutes slotted to use the computer lab, so most of this digital drawings only took about thirty minutes.  But, the best thing (and you know you've done something right when this happens) the kids would go home after school and create MORE on the website and email me the link to their creations.  Pretty awesome stuff right there.

WARNING: DON'T LOOK AT THESE ALL AT ONCE YOU MIGHT GET MOTION SICKNESS


I hope you continue to enjoy your summer.  I know I certainly have been--I've been pretty unplugged this summer just because you know I got to get out and enjoy that Nebraska sun!  

I will be presenting at the AOE Online Summer Conference.  If you haven't signed up yet, you should-- you still have a couple days to do so!  I'll see you there!


post signature

Wednesday, June 10, 2015

UPDATE: I'm an Empty Nester

Well that day has come, I'm officially an empty nester.  Everybody has flown the nest and have made a new home for themselves somewhere.  I'm yet to find out where, but I certainly hope they come back to visit.

Oh, what did you guys think I was talking about?  If you're confused rightfully so, but check out my previous post and it might make a little more sense.


These guys grew so fast in the mere 10 days that I knew them.  Thank you Rocky and Hermie for letting me be your friend.  You know watch you grow up.  You were pretty ugly at first, actually really ugly at first, but once you sprouted a few feathers you weren't so bad.  I still don't understand why you wouldn't eat the worms I chewed up for you, it did kind of hurt my feelings, but I guess it's okay.

To you Momma Robin: I'm glad to see you go.  You gave me the stink eye as if there was no tomorrow.  If looks could kill, you got me good.  You pooped everywhere and made the front porch a mess.  I only wanted to participate in the growing up of your children so swooping down at me was not very nice. 

      
Fly free Rocky and Hermie.  I'll catch you later.  But I am glad I can open the front door again.  Come back to visit, as long as you bring me back presents. 

(In other news my Summer School class has been learning all about Art in Motion updates on that shortly, you know after I share some of the end of the year projects and get over my bird depression.  Do you think if I'm sad enough I'll inflict Bird Flu on myself?  Just a thought) 

post signature

Monday, June 8, 2015

Things that Fly

1st graders last projects of the school year were all about balance and symmetry.  We started off by talking about the asymmetry of kites when it comes to the patterns and designs.  


 The borders around our kites were just a combination of leftover scraps from the year--never let anything go to waste!  You can tell the students who just threw on random colors and those that took the time to sort through all the colors to create a pattern.


Next up we talked about the symmetry of butterflies and created these simple crayon, watercolor & salt, compositions.


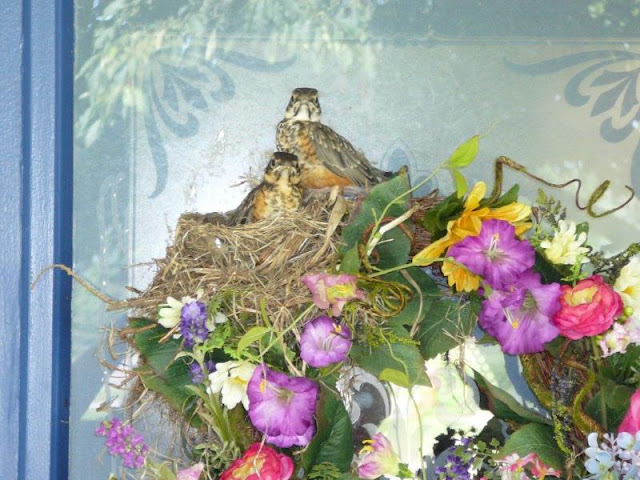
Speaking of others things that fly, as of late I've become quite the birdwatcher.  If you follow me on twitter you might have noticed my obsession as of late with ornithology.  Well guys, it's real.  This bird just HAD TO make a nest on the wreath on the door and torment me.  


I almost died taking this picture.  In order to make this picture a reality I 007-ed and Mission Impossibled this like there was no tomorrow.


Check ya, later peeps. Only 9 more days of summer school and REAL summer begins!
post signature