Thursday, February 27, 2014

2nd Grade Russian Architecture

This lesson just happened to at the right time during the Winter Olympics, which was really a lucky coincidence. Nonetheless fun!  As part of the Art Curriculum 2nd graders are to study architecture so I decided to look at that of Russia, in particular St. Basil's Cathedral.  


I love showing them the building all the oooohs and ahhhs, and then to find out it's a real building--students just think it is too cool!

We drew the buildings all together with pencil, students then used sharpie to create patterns.  Students then filled the background with circles and used crayons to color in. Students worked independently on choosing their patterns and color choices.  This lesson took 2.5-3 classes to finish.


Tuesday, February 25, 2014

6th Grade Soda Can Op Art

I loved this project.  This has now become my favorite 6th grade project. There were so many different elements that went into this project and 6th grade students rocked it!  I was so impressed by the work they did.  I have around 200 6th graders and this is just a handful of the drawings they did, but the majority of students were so successful and much of the results reflect the images in this post.

We spent about 4 classes on this project.  
  • The first day we did a step by step drawing of a pop can.  Students were then given a handout of about 10 different kinds of pop and they began drawing the logo.  
  • On the second day students finished drawing the logo and began shading in the pop can with drawing pencils and blending sticks.
  • On the third day we talked a little bit about OP Art and created our backgrounds together. I did require students to have 4-5 circles on their drawing.  We drew them together by tracing around circles around the classroom.  They then had the option to create a checker board or the curved line background. They then filled in the background with markers.
  • On the last day students finished the background by choosing the colors of the soda can to fill in with marker.
Here are just SOME of the  awesome drawings the 6th graders made.  What do you think?


Tuesday, February 18, 2014

5th Grade Minion Sculptures

This project has been a time consuming process, but let me tell you 5th grade students loved it! I knew I wanted to do some sort of 3D minion project with 5th graders, but didn't know exactly what.  I experimented with quite a few different things before I called upon a coworker to see if he had any ideas.  So he is to credit for this lesson.

This lesson has taken about 4 to 5 classes to finish.  We made the minions out of model magic each time students followed my step by step instructions to make them we worked very closely around a table helping each other out.  It took two classes to make the minions and put them on a wire with a plaster base that I made up ahead of time.  On the 2nd day some students had a little time to start painting.  It has taken students about 2 additional classes to finish painting.  As a finishing touch we added hair with black or purple wire and topped everything off with a clear coat of gloss. 


Here are my examples that I made before we stacked them.  They are about 1 to  2 inches tall.


Here is an image of my finished example.


These photographs did not do justice to the students sculptures.  I tried to get a variety of angles so you can see some of the details.  


Look at that detail.


Wednesday, February 12, 2014

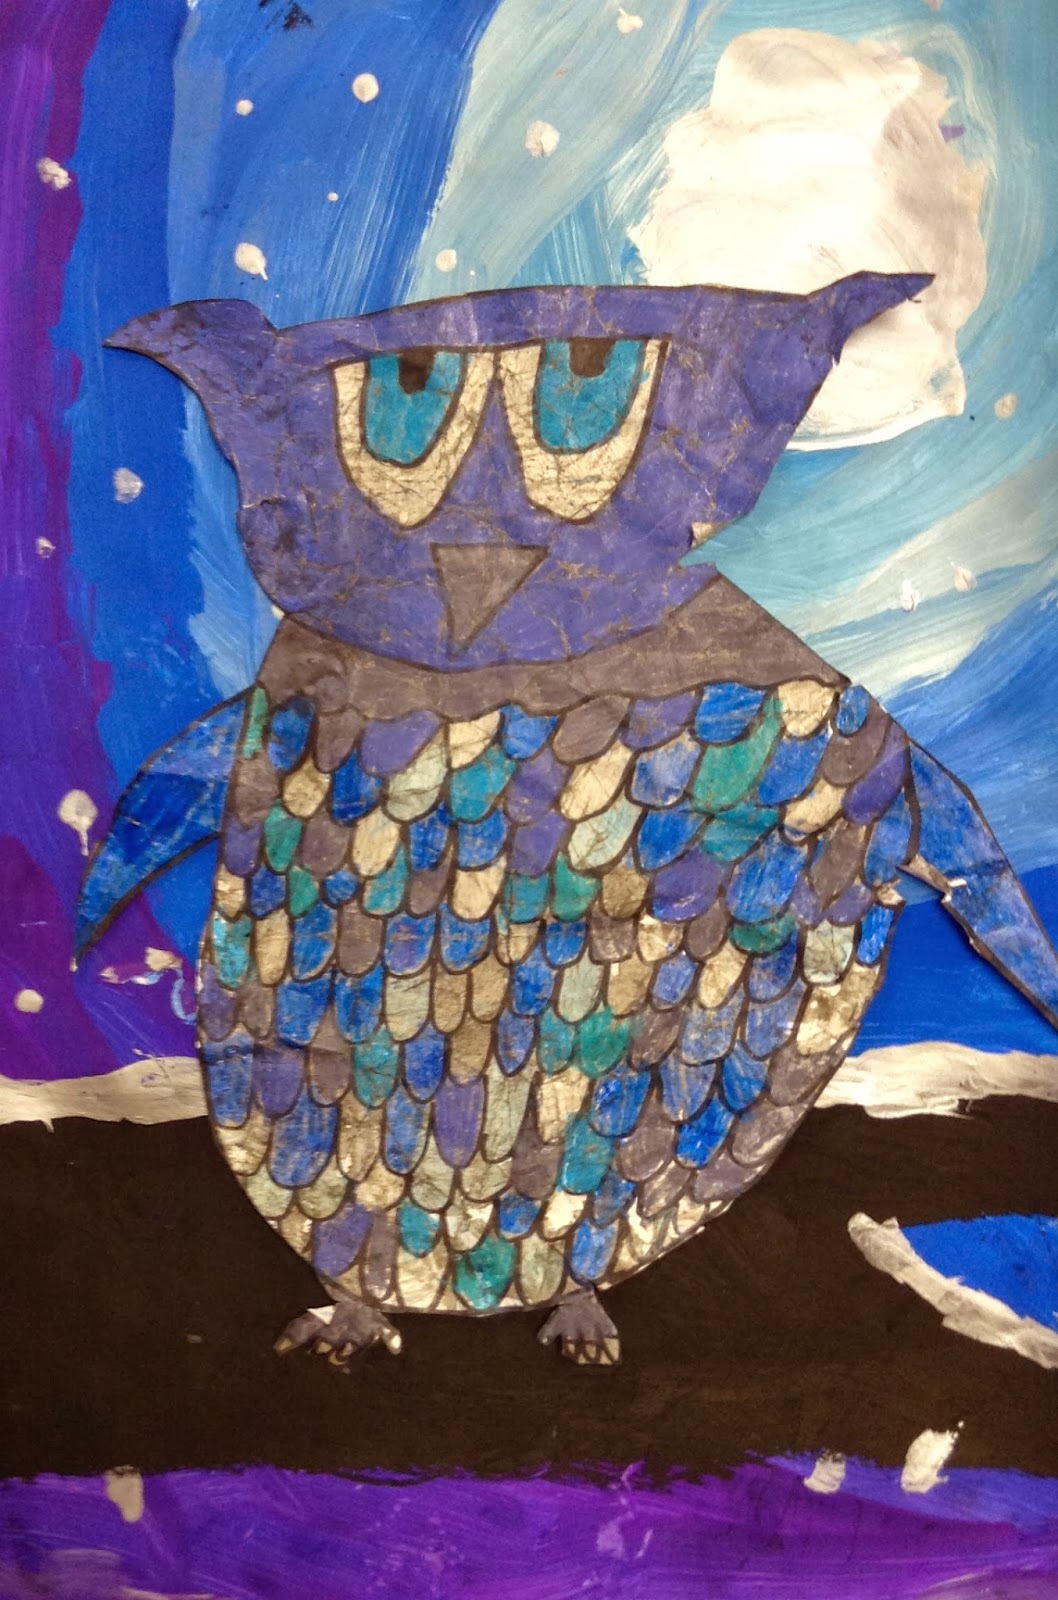
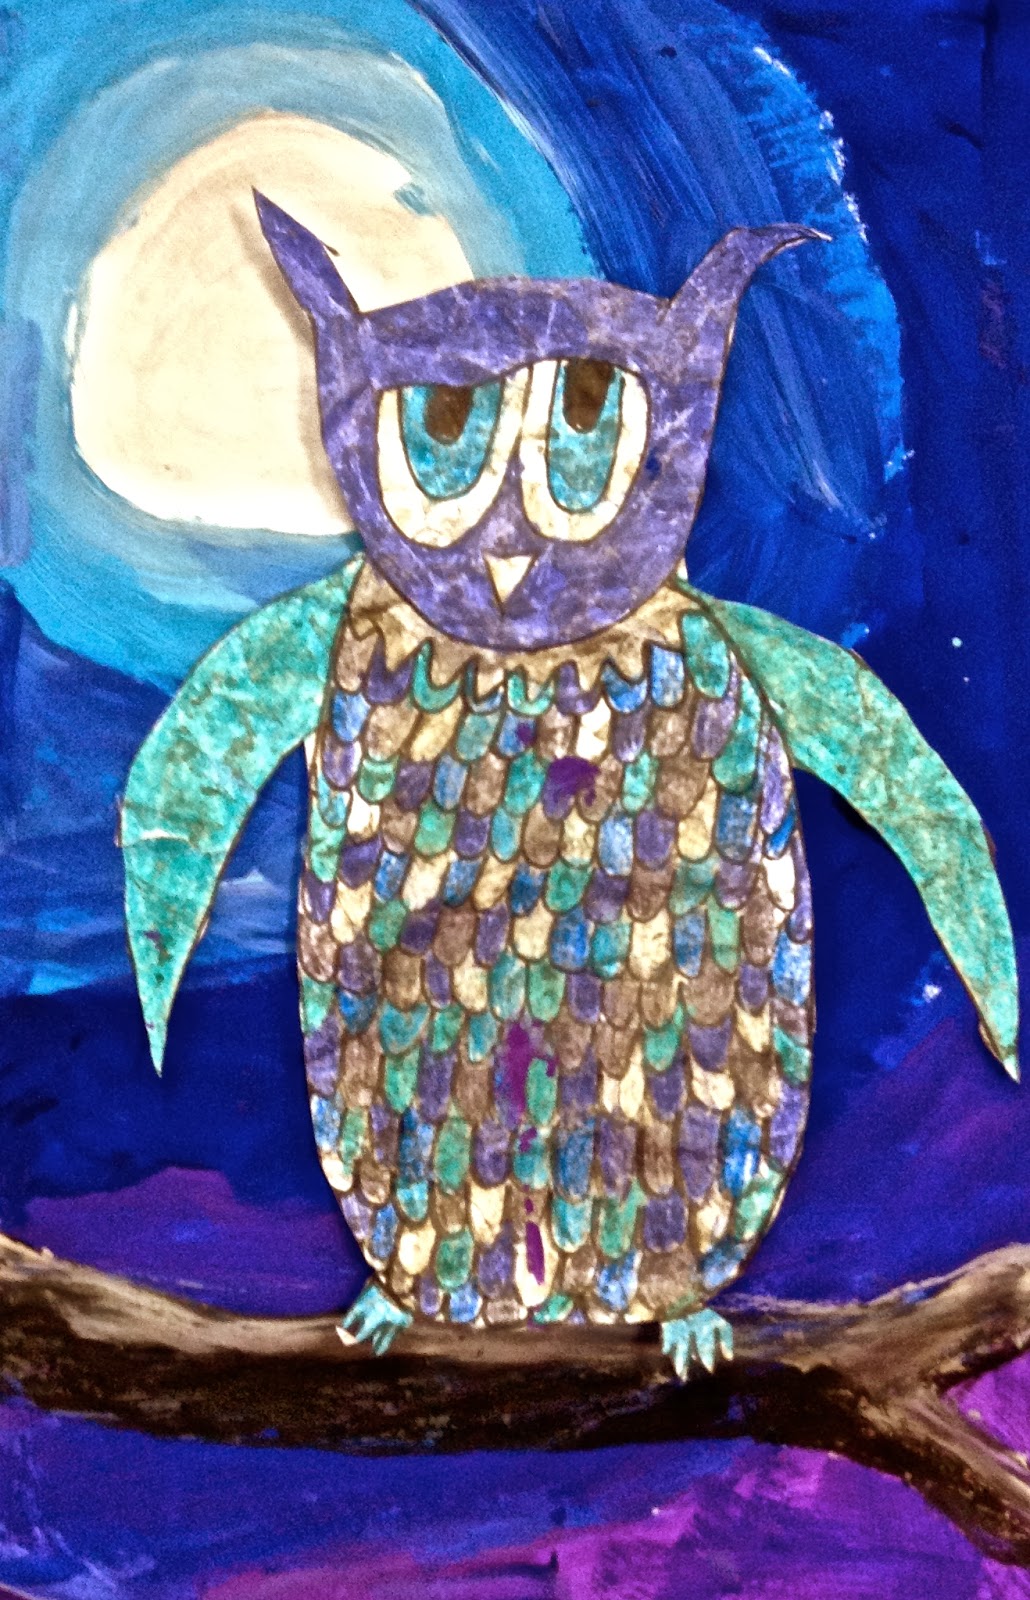
3rd Grade Owl Batik

This was kind of a long project for third graders, but it was quite the hoot (insert drum roll here).  This was about a 4-5 day project deepening on the class. 
1st day draw the owl.

2nd day use crayons to color in owl (PRESS HARD)
3rd Day watch batik demo (crumpling paper 8 times and going over with water down black tempera paint). Finish coloring with crayon and doing batik process.
4th day students were to have batik done and we did a directed painting for the background.
5th day add branch glue on owl.

There were so many steps in this project and one of the reasons why it took so long for us to finish was because this was very much a project where students kept their own pace.  We all know the work speeds of students vary tremendously! So some of the steps were prolonged to enable other students to catch up. On the 5th day it only took us about ten minutes to finish and then we started on our next project.  For those students who seemed to be waiting for the next step I had a filler activity whether that be a handout or reading they would do and if they still finished that I asked them to help someone who wasn't finished.

Overall I love the results.  I'd like to see what I could do the next go around to make the project go a little quicker. 


Wednesday, February 5, 2014

Kindergarten Warm/Cool Colors Jim Dine Batik Hearts

Kindergarteners learned about warm and cool colors.  This really is a simple 2 day lesson that I really liked.  I did something different last year and I love these results even more!  

On day 1 of the lesson we simply drew a heart on a 9x12 piece of white paper and then discussed warm and cool colors.  Students were then given warm colored crayons first.  They were to choose if they wanted the heart or the outside to be colored in using warm colors.  I told them they could make patterns or just use the colors, BUT everyone must press hard and leave no white spaces.  When students finished with the warm colors students were given the cool colors to finish the remaining uncolored portion.  Most students were able to finish the coloring portion in the first class.

Day 2 of the lesson was the fun day.  I wanted the hearts to have a "batik-esque" look to it so after students got their hearts back they were instructed to crumple up their paper 8 times as if they were going to throw their paper across the room.  When I started crumpling my heart drawing the faces of those kindergarteners look horrified, but I promised them there was a good reason we were doing this.

After this portions as done students gathered around to see the next step.  Using watered down black tempera paint we painted over the entire paper and then using a paper towel the paint was dabbed off not wiped.  Students then got an orange or green piece of construction paper and glued their hear onto it. I then demonstrated stamping around the border with black paint to make hearts.  For some classes I used toilet paper rolls simply folding them in to make a heart shape.  The hearts that are a little longer I made out of strip of oak tag paper and stapled the ends in a heart form.  Those hearts did look nicer, but they were a bit time consuming to make.

Here are the lovely results just in time for Valentine's Day!


6th Grade Sports Spheres

I love this lesson, students love this lesson and they all turn out so very awesome!
I did this lesson last year using all oil pastels and although they turned out just as wonderfully it took us 4-5 classes to finish compared to this year only taking 2-3 classes to finish.  
Instead of having students create their sphere using oil pastel we painted.  On the first day of the lesson we talked about form and value and how you make something on a 2D surface look 3D.  Using a compass students created a circle on a 12x12 paper. I gave students a quick demo and then students chose the color they wanted to paint their sphere.  Paint was distributed and we began paint all together.  To start I instructed to paint the entire circle using the local color then students added white paint for the highlight and black paint for the shadow.  It's very important that students don't use the white after they use the black otherwise all of the colors will start to turn grey.  

On day 2 of the lesson using oil pastels students chose a sport and adding details to the sphere using oil pastels.  They also used oil pastel to add something in background, it did not matter what it was as long as the background was filled.  About half of the students finish on the 2nd day of the lesson and most students only need about 15-20 minutes to finish on the 3rd day.


Monday, February 3, 2014

More Adapted Art Lessons

This penguin lesson was a spin off from the 1st grade penguin lesson.  To make the snowflake background I had a foam printing sheet that I had made snowflakes in and they used silver printing ink to print onto a piece of paper.  We used stencils to create the penguin.


This was our Valentine's lesson.  Using contact paper I cut out a heart shape and put it on the piece of paper.  Using bright green, blue, and yellow students simply painted the paper.  Using hearts made from oak tag paper students printed with purple paint over top.  At the end we peeled off the heart to see the surprise!