We then talked about these terms:
Still Life: an object that does not move while you paint or draw it
Contour: the outside or outline of an object
Form: Making something look 3D on a 2D surface
Students were then instructed to make a contour drawing of the still life on their tables, in this case an apple. After students made their drawing we talked about 3D vs 2D. We talked about how the apples sitting on the tables are 3D, but the apples on our paper are 2D. After a demonstration with oil pastels students were faced with the challenge of making their 2D apple look 3D. After students finished their apple they were instructed to cut it out.
Teacher Example:
For the next step of our project we discussed radial symmetry.
Radial Symmetry: Something that is the same on both sides and goes around a central point.
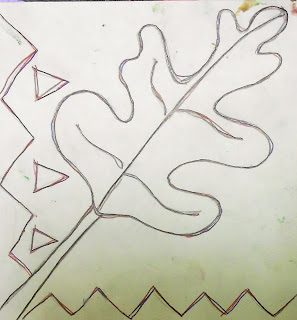
Students were given a 6in x 6in square to make a leaf design. They were instructed to keep it simple and the leaf stem must go to a corner.
Teacher Example:
After students designed their leaf they were instructed to flip their squares over and with pencil shade the back of their square. Students then received a piece of tape and 12in x 12in piece of paper. Students taped their square down to the paper and traced over the design with a ball point pen. The design then transfers onto the paper, students continue this four times until all four corners are filled with their radial design.
Students then were able to go over their radial design with crayon adding some color. We used wax resist with watercolor to make the finished radial symmetrical design.
This project took about 4 classes to complete, 2nd graders worked very hard and they are turning out wonderfully!
Teacher example:
To finish off the project students glued their cutout apple on the middle of their radial leaf design to create a fall inspired piece.
Teacher Example:
Student Examples:


awesome!
ReplyDelete