Showing posts with label still life. Show all posts

Friday, January 8, 2016

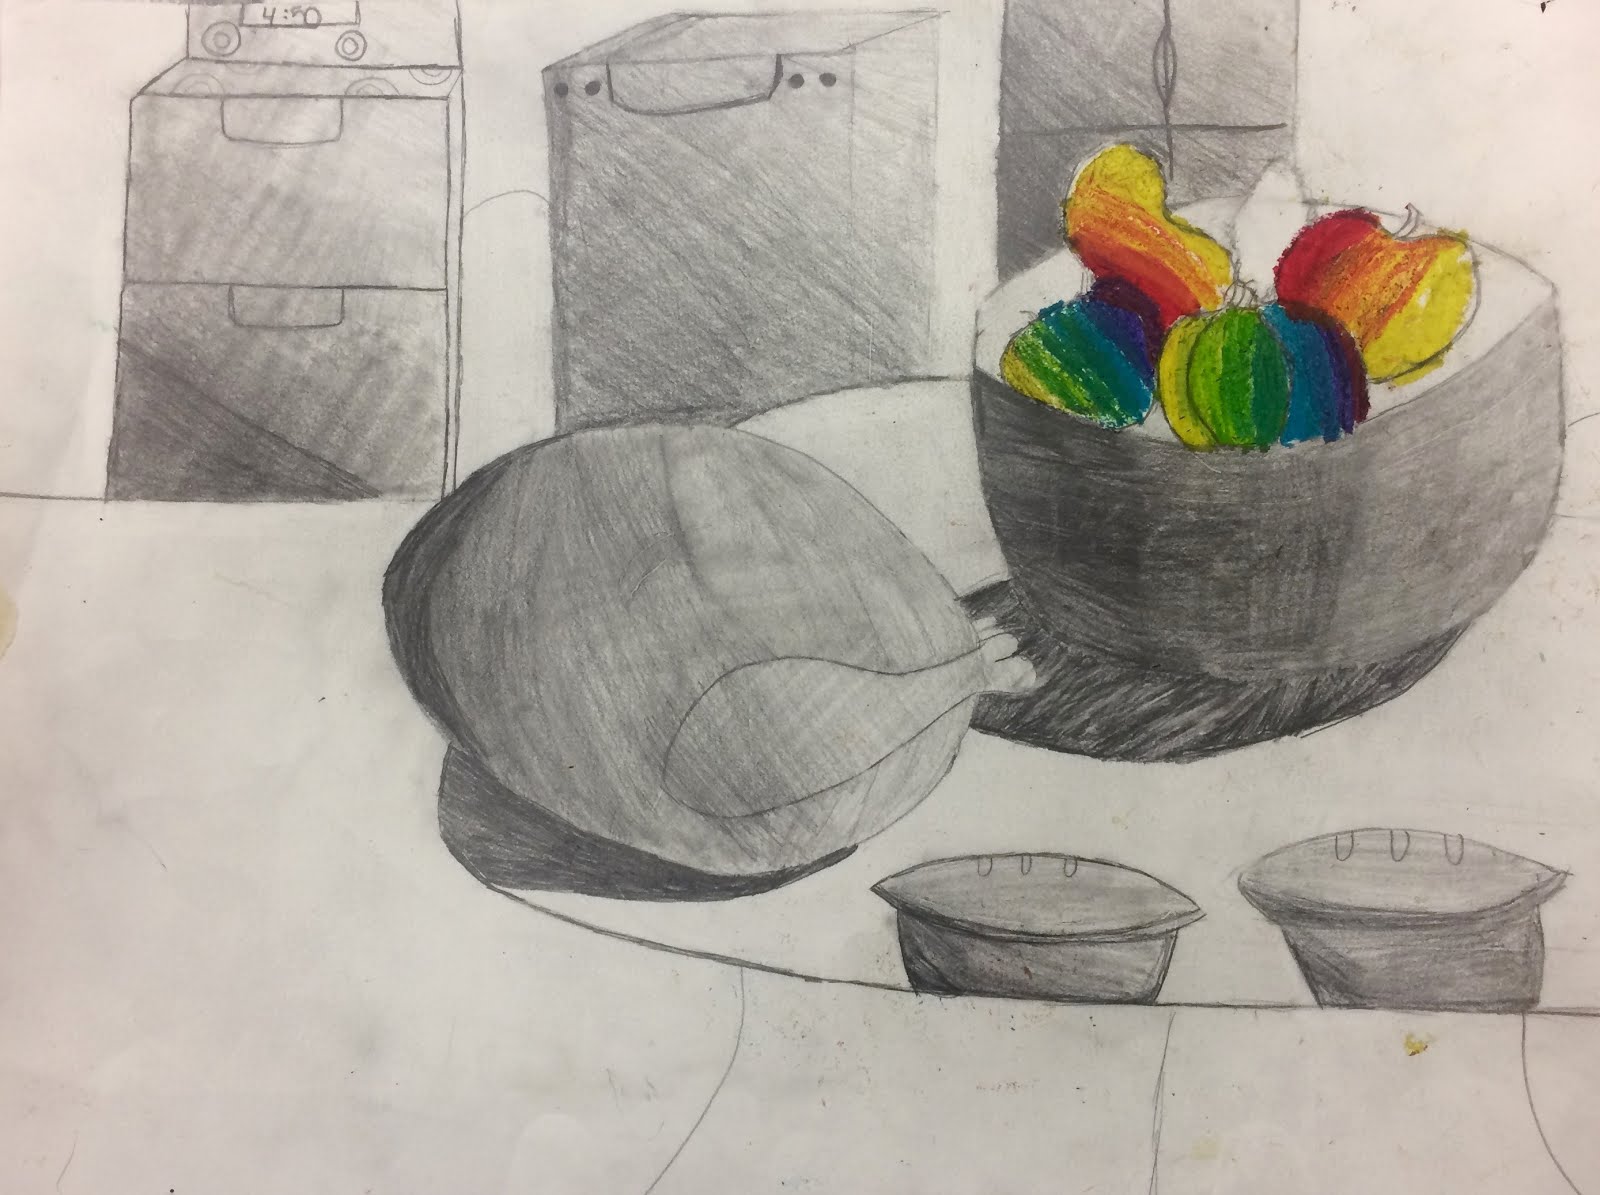
Value Still Life with a BONUS

I don't know how your students are, but when we get started on a still life project it takes awhile for my students to remember and know what a still life is.  I find it so beneficial for my students to draw from observation, especially as young developing artists.

For this project 7th graders were required to draw from observation.  If they wanted to incorporate something in their drawing it needed to physically be sitting on the table in front of them--no reference photos.  Many students chose to bring in their own objects, but for those that didn't they got to choose from some of the awesome props I keep in my classroom.

As an added bonus, students were to invent an area of their drawing where the color wheel would be incorporated.  So they did get to do a little inventing!

Here are some of the awesome results:


In other news, I started writing for the Art of Ed! Make sure to check out all of the awesomeness they have going on over there, but don't worry I'll still be sharing my classroom happenings here!


Saturday, November 29, 2014

Rounding out Autumn Lessons

Good grief Charlie Brown, I'm glad I got to squeeze this post in before December hit.  Before Thanksgiving break all of the final autumn-esque art lessons were finished up.  I mean it is still fall and winter won't "technically" be here for almost another month, but here in Nebraska it sure feels a lot like winter.  I'm not even mad about it, BECAUSE SNOW AND WINTER ARE MY FAVORITE.  

Well to finish off the fall themed posts for the year is a project done by 6th graders.  When developing an art project, especially for my 6th graders, because I see them so seldom I try to see how much art learning can be loaded into one art lesson in the simplest ways possible.  That's usually easier said than done, but I try. 

This here lesson is one that was inspired by the batik look.  Students created backgrounds using a wet on wet technique with liquid watercolors.  While the watercolors were still wet students crumpled up the paper, the watercolors mixed together and WA-LA these fabulous backgrounds were created.  The next step was drawing fall themed produce and filling them in with oil pastel.  Students used a similar batik process as done here, crumpling up there objects 7 to 8 times and going over with watered down black tempera paint.  

The students were so into the destruction (being able to crumple the paper) of their artwork in the background, but some were a little more reluctant when it came to the objects.  They knew the end result would be pretty awesome, but there mentality was "I just worked so hard on this and I love the way it works, why would I want to destroy it?"  For some this was a challenge, but we fought the good fight and made some pretty awesome art.  

Some of these 6th graders just rocked it.


4th graders made these fall inspired warm/cool drawings with mod podge and oil pastels.


I hope your thanksgiving was fantastic.......AND with that being said bring on my favorite season, Christmas, and PLEASE LOTS OF SNOW!

Friday, May 9, 2014

1st Grade Paul Cezanne Apple Still Life

1st graders talked about A LOT of different art concepts with this project.
          1. They learned about the still life.
          2. We talked about space and overlapping creating a foreground, middleground, and background.
          3. They learned about complement colors.
          4. We reviewed line and pattern.
          5. AND we did a little Art History learning about artist Paul Cezanne.
All that with 1st graders and only a two day project.  They Rocked it.

Day 1: Students used an apple die cut to trace around, making sure they overlapped.  With this step we talked about space.  We then moved onto complement colors.  We studied the color wheel, learned how we could find them, and then they painted using the orange and blue combination.  

Once paintings were on the drying rack we learned about our artist and talked about the still life. 

 (I know that some of this stuff seems like it is done out of order, but because I see the students so little --once every 8 schools days--I want to make sure we get all the "making" done.  Sometimes I feel like I could just talk about all the concepts forever, but never actually get to work on them!)

The Metropolitan Museum of Art has a wonderful interactive history and story lesson on the website.  We explored this with our remaining time learning about Paul Cezanne. 

Day 2:  I pulled up an image of one of Cezanne's still life's and students set to work filling in the apples with the colors they saw.  Using blue and orange oil pastels they created lines and patterns on the background.


Friday, March 7, 2014

4th Grade Van Gogh Sunflowers

Spring has sprung (in the art room). Flowers and colors are filling the drying racks and shelves.  Well, I mean there are always plenty of colors in here as you can usually see the color of my pants illuminating through the hallway. BUT I think we are all ready for a little green to start showing through.  

This is a lesson I did with 4th graders last year.  I LOVED it so I tried it again this year.  We talked about Vincent Van Gogh and looked at his "Sunflowers" painting.  The first day of the lesson was dedicated to drawing.  Students went ahead and drew a vase and 5-6 flowers using a white oil pastel.  I then gave students yellow paint to fill in the flowers.  I came around with some white to put on top of the yellow.  WITHOUT rinsing out paintbrushes I gave them some green paint for the stems and leaves and finally some brown paint for the centers.

On the second day we reviewed Warm and Cool colors. Using oil pastels (in the short brushstroke way like Van Gogh used) students filled in the vase, table, and background with oil pastels.  Most of the students finish in two days some needed a little more time at the beginning of the next class. 

They all turned out beautifully.


Sunday, December 15, 2013

5th Grade Still Life Realism Vs. Abstraction

For this lesson 5th graders discussed many important art concepts.  The idea for this lesson came from here with a few changes.  We started off the lesson by talking about and looking at different still life examples ending this portion by looking at photorealism.  A great focus for this lesson was on value and how value can give the illusion of 3D objects on a 2D surface to make shapes look real.  Before we started our projects students used this value worksheet to help us understand the concept a little more.  

Together students did a directed drawing of a cone, cube, sphere, and cylinder.  While drawing we discussed composition and how we could arrange the objects to look visually interesting on our page.  I told students that they could keep the forms they way we drew them together or if they would like to change their objects into something else they could.  For instance, I gave the example of changing the sphere into an apple or the cylinder into a soda can.  Most students left the objects as they were or changed just 1-2 objects.  Using drawing pencils and tortillions students shading in the objects using their value worksheet as a reference. 

As a final step students were to create a patterned abstract background using one color of marker.

  I love the results and the change from a traditional still life/shading lesson!


Friday, October 5, 2012

4th Grade Indian Corn Still Life

4th Graders are focusing on these important art concepts in this fall inspired lesson:

Still Life: A painting or drawing of an arrangement of objects.
Contour: Shows the outline of the subject, and not the volume or mass of an object.
Visual Texture: The illusion of a 3D surface on a 2D Surface.  If we were to touch a visual texture, we would not feel what our eyes tell us to expect. (A concept 4th graders have been exploring in science)


To explore these concepts students drew a still life of indian corn, focusing on the contours to show visual texture.  


After students made their contour drawing they outlined it with sharpie.  Next they colored each kernel individually with crayon, blending and overlapping colors to get the desired color.  Students then used wax resist with watercolor to paint the background and areas not covered with crayon.


Student Examples: